Why Make Bulgur Wheat at Home? Healthy, Versatile & Easy
Often overlooked and sometimes relegated to the "too-fancy" restaurant menu, bulgur wheat is a true culinary gem that deserves a starring role in your home kitchen. While its reputation might suggest complexity, the truth is, this delicious and incredibly versatile grain is surprisingly easy to prepare right in your own home. Not only will you discover a new favorite ingredient, but you'll also unlock a wealth of health benefits and culinary possibilities. So, put away your hesitations and get ready to learn the ropes of Master Homemade Bulgur Wheat: Simple Steps for Delicious Grains.
If you've ever wondered how to make bulgur wheat at home, you're in the right place. Beyond just cooking it, understanding what makes bulgur special and how to incorporate it into your diet can transform your meal prep. Get ready to embrace a grain that's not only nutritious but also a fantastic, budget-friendly alternative to many common carbohydrates.
What Exactly *Is* Bulgur Wheat? Unpacking This Ancient Grain
Before diving into the cooking process, let's clarify what bulgur wheat actually is. Despite its name, bulgur isn't a unique species of grain; rather, it's a specific preparation of wheat berries. Primarily derived from durum wheat (the same type used for many pastas and couscous), bulgur is made by par-boiling whole wheat berries, then drying them, and finally cracking them into various sizes.
This par-boiling process is crucial. It partially cooks the wheat, meaning that when you prepare bulgur at home, you're essentially rehydrating and finishing the cooking process of an already pre-cooked grain. This is why bulgur generally cooks much faster than whole wheat berries. It's also what differentiates bulgur from plain "cracked wheat." While cracked wheat is simply raw wheat berries that have been broken into pieces, bulgur has undergone that initial par-boiling step, giving it a distinct texture and quicker cooking time.
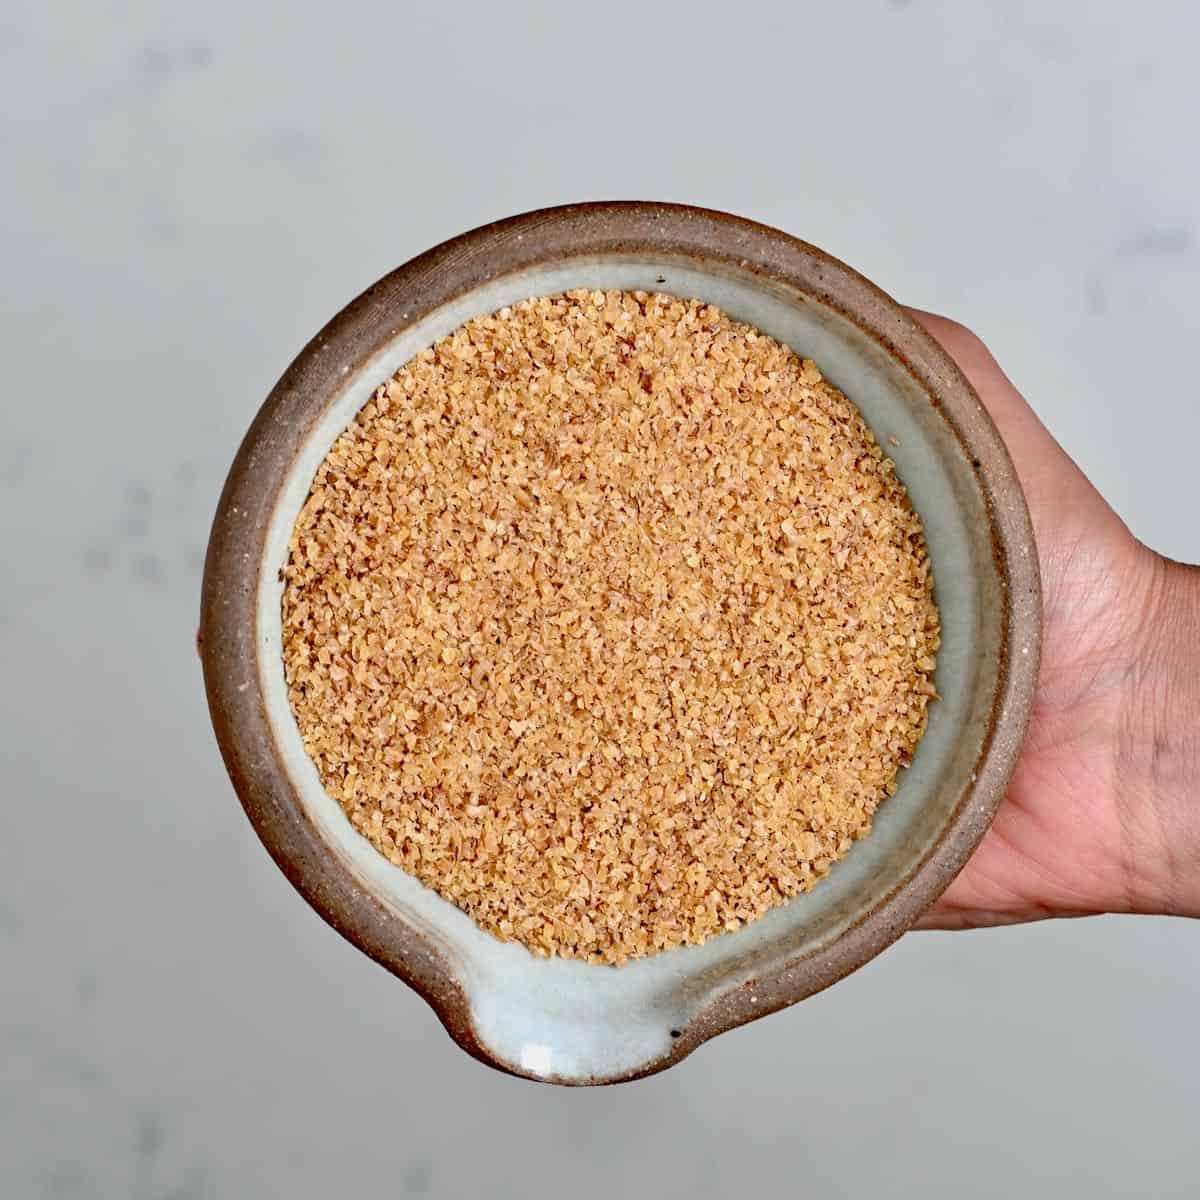
Bulgur is available in several grind types: fine, medium, coarse, and extra coarse. Each grind offers a different texture and is suited for various dishes. Fine bulgur, for example, is perfect for traditional tabbouleh salads, while coarser grinds are ideal for pilafs, stuffings, and heartier side dishes. Understanding the grind you're using can sometimes influence the soaking and cooking times needed for optimal results.
The Health & Versatility Boost: Why Bulgur Belongs in Your Kitchen
Beyond its ease of preparation, bulgur wheat stands out for its impressive nutritional profile and incredible adaptability. Making it a staple in your home means you're consistently reaching for a healthy, wholesome ingredient.
A Nutritional Powerhouse
- High in Fiber: One of bulgur's most significant advantages is its high fiber content. As a whole grain, it retains the bran and germ, which are packed with dietary fiber. Fiber is essential for digestive health, promoting regularity, and helping to prevent conditions like constipation.
- Satiety and Weight Management: The fiber in bulgur also contributes to a feeling of fullness and satiety, which can be beneficial for weight management. It helps stabilize blood sugar levels, preventing rapid spikes and crashes that often lead to cravings.
- Low in Calories: Despite being dense and filling, bulgur is surprisingly low in calories, making it an excellent choice for those mindful of their caloric intake.
- Rich in Essential Nutrients: Bulgur provides a good source of manganese, magnesium, iron, and B vitamins, all vital for various bodily functions, from energy production to bone health.
Endless Culinary Possibilities
Bulgur wheat is an incredibly versatile grain that can easily substitute for other carbohydrates in a multitude of dishes. Treat it much like you would rice, couscous, or pasta, and watch it seamlessly integrate into your favorite recipes.
- The Perfect Side Dish: It makes an excellent carb side dish to accompany virtually any meal – grilled meats, roasted vegetables, or flavorful stews.
- Bulking Agent: Its dense and satisfying texture makes it an ideal filling ingredient for soups and stews. Imagine a hearty winter stew or a warming chili bulked up with nutritious bulgur – it's both satisfying and surprisingly light.
- Salads and Bowls: Beyond tabbouleh, use bulgur as a base for vibrant grain salads with fresh herbs, vegetables, and a zesty dressing. It's also fantastic in Buddha bowls or as a component of a healthy breakfast bowl with fruit and nuts.
- Main Course Star: Bulgur can be incorporated into meatless meatballs or burgers, used as a stuffing for vegetables like bell peppers or zucchini, or even transformed into savory pilafs with aromatic spices and vegetables.
By cooking bulgur at home, you gain complete control over your ingredients, ensuring freshness and avoiding any unwanted additives found in some pre-packaged or restaurant versions. Plus, it's often more cost-effective to buy in bulk and prepare it yourself. For more insights, don't forget to check out Skip Fancy Restaurants: DIY Bulgur Wheat at Home Today.
How to Cook Bulgur Wheat at Home: A Step-by-Step Guide
Now for the main event! While bulgur itself is made from wheat berries through a specific process, our focus here is on how to prepare this ready-to-cook grain for a delicious meal. The method we're outlining is a traditional, thorough approach that yields perfectly tender and flavorful bulgur.
What You'll Need:
- 1 cup (medium or coarse) bulgur wheat
- 1 tsp salt (or to taste)
- Water (approximately 2-3 cups, or enough to cover generously)
- A good saucepan with a tight-fitting lid
The Process:
- Overnight Soak (Optional but Recommended for Texture): Begin by transferring your bulgur wheat to a bowl of cold water. Ensure the bulgur is fully submerged. Let it soak overnight. This pre-soaking step helps to rehydrate the grain, reducing the subsequent boiling time and contributing to a more tender texture.
- Drain and Rinse: In the morning, or after at least 8 hours of soaking, thoroughly drain the bulgur wheat. You can rinse it under cold water if desired, then drain again completely to remove any excess starch.
- Prepare for Boiling: Transfer the drained bulgur to your saucepan. Add the salt, then pour in enough fresh water to cover the bulgur by about two inches. This ensures there's ample liquid for the grain to fully absorb and cook without drying out.
- Boil to Perfection: Bring the water to a rolling boil over medium-high heat. Once boiling, reduce the heat to a low simmer, cover the saucepan tightly with its lid, and let it cook for approximately 60 minutes. The cooking time can vary based on the grind size of your bulgur (coarser grinds will take longer).
- Check for Doneness: After 60 minutes, check your bulgur. It should be tender, easily breaking apart with gentle pressure between your finger and thumb, and have no hard chew when bitten into. If it's still too firm, add a little more hot water, re-cover, and continue to simmer for another 10-15 minutes, checking periodically.
- Serve Immediately: Once cooked to your liking, fluff the bulgur with a fork and serve it immediately as a wholesome side dish or incorporate it into your chosen recipe.
Troubleshooting Common Issues:
- Bulgur Refusing to Cook / Water Evaporating: If your bulgur remains hard and all the water has disappeared, you likely didn't use enough water initially, or your pot wasn't lidded properly, allowing too much moisture to escape. Simply add a bit more hot water (about half a cup at a time), re-cover, and continue cooking until tender.
- Bland Flavor: If your bulgur tastes dull, the most common culprit is insufficient salt. Since this is essentially a boiled grain, it needs proper seasoning. Don't be shy – feel free to add a few extra dashes of salt to taste, even after cooking. A little extra salt goes a long way in bringing out the natural flavor.
Beyond the Basics: Tips for Perfect Bulgur Every Time & Storage
Mastering bulgur wheat at home is simple, but a few extra tips can elevate your results and help you manage leftovers.
Tips for Optimal Flavor and Texture:
- Broth for Flavor: Instead of plain water, consider cooking your bulgur in vegetable or chicken broth. This infuses a deeper, more savory flavor into the grain.
- Aromatic Additions: Enhance the taste by adding bay leaves, a pinch of cumin, turmeric, or a sprig of fresh thyme to the cooking water.
- Toasted Bulgur: For an extra layer of flavor, lightly toast the dry bulgur in a dry pan for a few minutes before soaking or boiling. This brings out a nuttier profile.
- Fluff with a Fork: After cooking, always fluff your bulgur with a fork. This separates the grains and prevents them from clumping together, giving it a light, appealing texture.
- Adjusting for Grind Size: Remember that finer bulgur will cook much faster, often requiring only a 15-20 minute simmer, or even just a hot water soak. The 60-minute boil is most suitable for medium to extra coarse bulgur. Adjust your cooking time accordingly.
Storing Your Homemade Bulgur:
- Refrigeration: Cooked bulgur wheat can be stored in an airtight container in the refrigerator for 3-4 days. It���s perfect for meal prepping and adding to salads throughout the week.
- Long-Term Dehydration (Traditional Method): For a truly traditional approach, if you've made a large batch of cooked bulgur and want to preserve it dry, you can dehydrate it. Spread the cooked bulgur in a thin layer on baking sheets and dry it in a low oven (around 150-200°F / 65-95°C) until the pieces are completely dry and brittle. Once dry, you can lightly grind them in a food processor or blender to your desired consistency and store in an airtight container for up to one month. This makes it ready for rehydration whenever you need it.
Conclusion
Making bulgur wheat at home is far from daunting; it's a rewarding culinary experience that brings a healthy, versatile, and delicious grain to your everyday meals. From its humble origins as par-boiled wheat berries to its incredible versatility as a side dish, soup filler, or salad base, bulgur offers a fantastic addition to any diet. By taking the time to prepare it yourself, you ensure maximum freshness, control over ingredients, and a deeper appreciation for this ancient staple.
So, why wait? Grab some bulgur wheat and a saucepan, and embark on a journey to discover the simple joys and robust flavors of homemade bulgur. Your taste buds, and your body, will thank you!
