Unlock the Potential of Your Pantry: Mastering Homemade Bulgur Wheat
For too long, bulgur wheat has been an unsung hero of the grain world, often relegated to the back of international grocery aisles or making fleeting appearances on "too-fancy" restaurant menus. Many perceive it as an exotic or complicated ingredient, but nothing could be further from the truth. In reality, mastering
how to make bulgur wheat at home is not only incredibly simple but also remarkably rewarding. This versatile, nutritious grain deserves a permanent spot in your culinary repertoire, offering a wholesome, delicious, and budget-friendly alternative to many traditional carb side dishes.
Beyond the Restaurant Plate: Why DIY Bulgur is a Game Changer
Imagine a grain that's as adaptable as pasta, as filling as rice, and packed with fiber, all while being surprisingly low in calories. That's bulgur wheat. Its slightly nutty flavor and satisfying chew make it a perfect companion to virtually any meal. It can bulk out hearty soups and stews, serve as a foundational ingredient for vibrant salads like tabbouleh, or stand alone as a simple, healthy side. By learning
how to make bulgur wheat at home, you gain complete control over your ingredients, ensuring freshness and avoiding any unwanted additives. Plus, the cost savings of preparing it yourself, rather than opting for pre-made dishes or expensive restaurant portions, are significant. It's a fantastic way to stretch your food budget while boosting your nutritional intake. To delve deeper into the myriad benefits, check out our article on
Why Make Bulgur Wheat at Home? Healthy, Versatile & Easy.
What Exactly *Is* Bulgur Wheat? Unpacking the Grain's True Nature
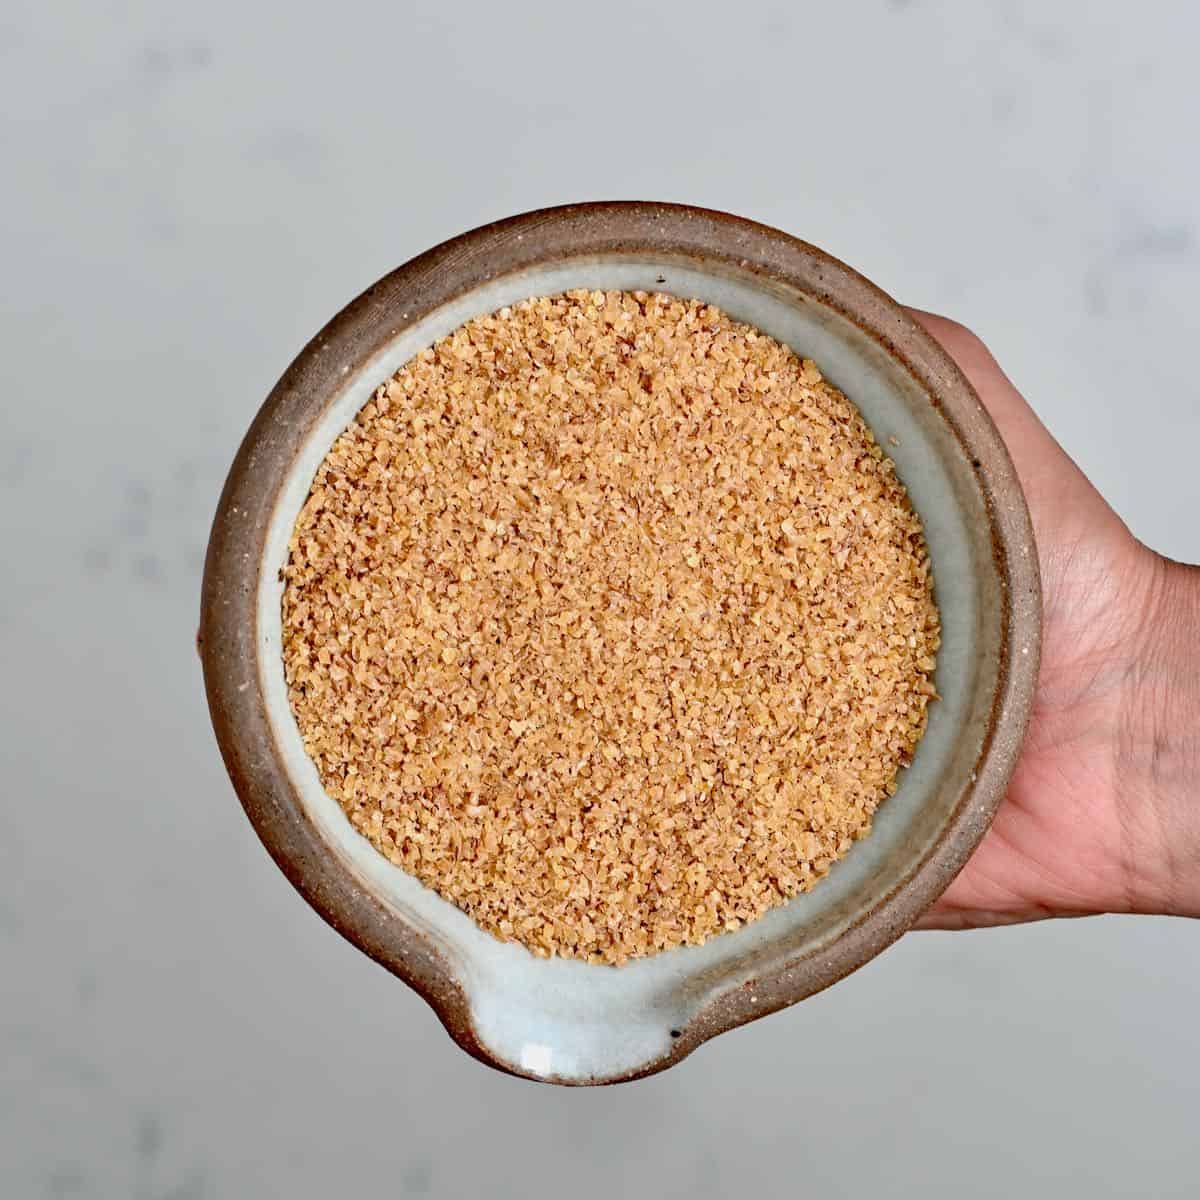
Before we dive into the "how-to," it's beneficial to understand what bulgur wheat truly is, as it's often confused with general cracked wheat. Bulgur wheat, or "burghul," isn't a specific type of grain in itself. Instead, it's a prepared form of wheat berries, typically from durum wheat (the same species used for pasta and couscous). The defining characteristic of bulgur is its unique processing: the whole wheat berries are par-boiled (partially cooked), dried, and then "cracked" or ground into various textures – fine, medium, coarse, or extra coarse. This par-boiling step is crucial because it partially cooks the starch, making bulgur much quicker to prepare than whole wheat berries and giving it its distinctive texture and nutty flavor profile. This pre-processing also extends its shelf life and imbues it with a unique ability to absorb liquids without becoming mushy, which is why it's a staple in Middle Eastern and Mediterranean cuisines.
The Simplest Path: Cooking Pre-Made Bulgur Wheat to Perfection
If you're starting with pre-packaged bulgur wheat (which has already undergone the par-boiling and cracking process), preparing it is incredibly straightforward. Think of it less like cooking a raw grain and more like rehydrating a pre-cooked one.
Gather Your Essentials: Ingredients and Equipment
You'll be pleased to know that you don't need any fancy gadgets to cook bulgur wheat.
*
Ingredients:
* 1 cup Bulgur Wheat (fine, medium, or coarse, depending on your preference)
* 2 cups Water (or vegetable/chicken broth for added flavor)
* 1 teaspoon Salt (adjust to taste, essential for flavor!)
* Optional: A drizzle of olive oil or a pat of butter for richness.
*
Equipment:
* A good quality saucepan with a tight-fitting lid
* A measuring cup
* A spoon for stirring
Step-by-Step Cooking Guide for Ready-to-Eat Bulgur
This method focuses on achieving perfectly cooked, fluffy bulgur every time:
1.
Rinse (Optional but Recommended): While not strictly necessary for par-boiled bulgur, a quick rinse under cold water can remove any dust or fine particles. Drain thoroughly.
2.
Combine Ingredients: Transfer the bulgur wheat to your saucepan. Add the water (or broth) and salt. The general ratio is 2 parts liquid to 1 part bulgur, but always check package instructions as some finer grinds may require slightly less.
3.
Bring to a Boil: Place the saucepan over medium-high heat and bring the liquid to a rolling boil.
4.
Simmer & Cover: Once boiling, reduce the heat to low, cover the saucepan tightly with the lid, and let it simmer.
* For
fine bulgur, cook for about 5-7 minutes.
* For
medium bulgur, cook for 10-15 minutes.
* For
coarse bulgur, cook for 15-20 minutes.
The goal is for the bulgur to absorb all the liquid and become tender but still have a slight chew (al dente).
5.
Rest & Fluff: Once the cooking time is up, remove the saucepan from the heat, but *keep the lid on*. Let the bulgur rest for another 5-10 minutes. This allows the steam to finish cooking the grains and ensures a fluffy texture.
6.
Serve: Remove the lid, fluff the bulgur with a fork, and serve immediately. You can add a drizzle of olive oil, fresh herbs, or a squeeze of lemon juice for extra flavor.
Common Hurdles & How to Overcome Them
Even with such a simple grain, you might encounter a few minor issues. Don't worry, they're easily fixed!
*
Bulgur Refuses to Cook / Too Dry: If your bulgur is still hard and all the water has evaporated, you likely didn't use enough liquid to begin with, or your lid wasn't tight enough, leading to excessive evaporation.
*
Solution: Add a splash more hot water (about ¼ cup at a time), re-cover, and continue to simmer on low heat until absorbed and tender. Ensure your lid is snug!
*
Bland Flavor: If your bulgur tastes like... well, plain boiled wheat, you probably didn't add enough salt. Salt is absolutely crucial for bringing out the natural flavors of the grain.
*
Solution: Season liberally! You can add more salt after cooking, or even a dash of garlic powder, onion powder, or a little bouillon paste to kick up the flavor. A squeeze of lemon juice or a handful of fresh herbs (parsley, mint, cilantro) can also work wonders.
*
Mushy Texture: This usually happens from too much water or overcooking.
*
Solution: For next time, reduce the liquid slightly or shorten the cooking time. If it's already mushy, try spreading it thinly on a baking sheet to dry out slightly in a low oven for 5-10 minutes, then fluff with a fork.
Elevate Your Craft: Making Bulgur Wheat from Scratch (From Whole Wheat Berries)
While simply cooking pre-made bulgur is excellent, true mastery of "homemade bulgur wheat" involves starting from whole wheat berries. This is the traditional process that turns raw wheat into the versatile, quick-cooking grain we know. This method requires a bit more time and effort but is incredibly rewarding for those who want to process their own grains.
The Foundation: Choosing Your Whole Wheat Berries
For authentic bulgur, you'll want to use hard wheat varieties, primarily durum wheat berries. However, other hard wheat varieties like hard red spring or hard white winter wheat can also be used. Ensure your wheat berries are clean, dry, and free from debris.
The Par-Boiling Process: Transforming Raw Wheat
This is the key step that distinguishes bulgur from regular cracked wheat.
1.
Soak (Optional, but recommended for larger batches): For quicker cooking and more even hydration, you can soak the whole wheat berries in cold water overnight. This isn't strictly necessary but can reduce the boiling time. Drain thoroughly before proceeding.
2.
Boil Until Tender: Place the whole wheat berries in a large pot and cover them with plenty of water (at least 3-4 times the volume of the wheat). Bring to a boil, then reduce heat and simmer until the wheat berries are tender but still firm – they should have a slight chew and their outer skins might just begin to crack. This can take anywhere from 30-60 minutes, depending on the wheat variety and whether you soaked them. Taste testing is key here.
Drying and Cracking: Achieving the Perfect Bulgur Texture
Once par-boiled, the wheat needs to be dried and then cracked.
1.
Dry Thoroughly: Drain the par-boiled wheat berries very well. Spread them out in a thin layer on clean baking sheets, large trays, or even a clean cloth. The goal is to dry them completely. This can be done:
*
Sun-drying: In a warm, dry, sunny location, this can take 1-3 days, turning occasionally. Cover with cheesecloth to protect from dust and insects.
*
Oven-drying: In a very low oven (around 150-200°F / 65-93°C) with the door slightly ajar to allow moisture to escape. This can take several hours, again, turning occasionally. The wheat berries should be completely dry, hard, and brittle, not pliable. Any remaining moisture will lead to spoilage.
2.
Crack/Grind: Once fully dried, the wheat berries are ready to be cracked. You can use:
*
A food processor: Pulse in batches until the desired texture is achieved (fine, medium, coarse). Be careful not to over-process into flour.
*
A grain mill: Use a coarse setting to crack the berries.
*
A mortar and pestle: For small batches, providing a very rustic texture.
Storing Your Homemade Raw Bulgur
Once cracked and completely dry, your homemade raw bulgur wheat can be stored in an airtight container in a cool, dark place for several months, similar to how you would store store-bought raw bulgur. For longer storage, consider refrigerating or freezing.
Culinary Versatility: Integrating Bulgur Wheat into Your Meals
Whether you've cooked store-bought bulgur or embarked on the journey of making it from whole wheat, its culinary applications are endless. Treat it as you would rice or couscous, or even pasta. It's fantastic as a base for grain bowls, a filling for stuffed vegetables, or as a hearty addition to vegetarian burgers. It makes an excellent substitute for rice in pilafs or for quinoa in salads. Its subtle flavor allows it to absorb and complement a wide range of spices and herbs. Don't limit yourself to just tabbouleh – although it excels there! Consider it for breakfast porridges, savory breakfast bowls, or as a textured element in baked goods. To discover more innovative ways to incorporate this amazing grain into your diet, take a look at our article:
Skip Fancy Restaurants: DIY Bulgur Wheat at Home Today.
Conclusion: Embrace the Homemade Bulgur Revolution
Making bulgur wheat at home, whether it's simply cooking a pre-packaged variety or going the extra mile to process whole wheat berries, is a deeply satisfying endeavor. It's a testament to the fact that healthy, delicious, and versatile food doesn't need to be complicated or expensive. By understanding the nature of this humble grain and following these simple steps, you empower yourself to create nutritious meals that are both flavorful and budget-friendly. So, ditch any hesitations, roll up your sleeves, and invite the incredible world of homemade bulgur wheat into your kitchen. Your taste buds, and your pantry, will thank you.